Fun Finger Paint Art Project for Kids!
Note: I may earn money or products from the companies, products, or links mentioned in this post.
I am not a very crafty person at all. In fact, I rarely do crafts because the ones I have done in the past have turned out to be… umm not so cute! However, I saw this little art project for kids on a mommy website and I was determined I was going to do it with my son! It ended up being a super fun project and really easy too. My son had fun and I must say I had a ton of fun doing it with him!

Fun Art Project for Kids:
What You Need:
- Poster Board
- Scissors
- Masking Tape
- Finger Paint or some other kind of Kid’s Paint
- Paper plate
- Q-tips (optional)
- Wipes
How to Make:
1. I used a ruler and cut out a 12 inch by 12 inch piece out of our poster board. That way we had a lot left to make more!
2. I got out my masking tape and used it to make my son’s name in tape on the poster board. I had to cut the tape in half so it was a thinner piece for each letter. That took a little bit of time.
3. Next, I poured the paints on the paper plate for my son to use. You can have your child use his fingers or some Q-tips to paint. My son hates getting dirty so he used Q-tips!
4. Try to get your child to color over all the letters so that later, when you peel the tape off you can see the name. My son didn’t quite get that and wanted to color just on the tape!
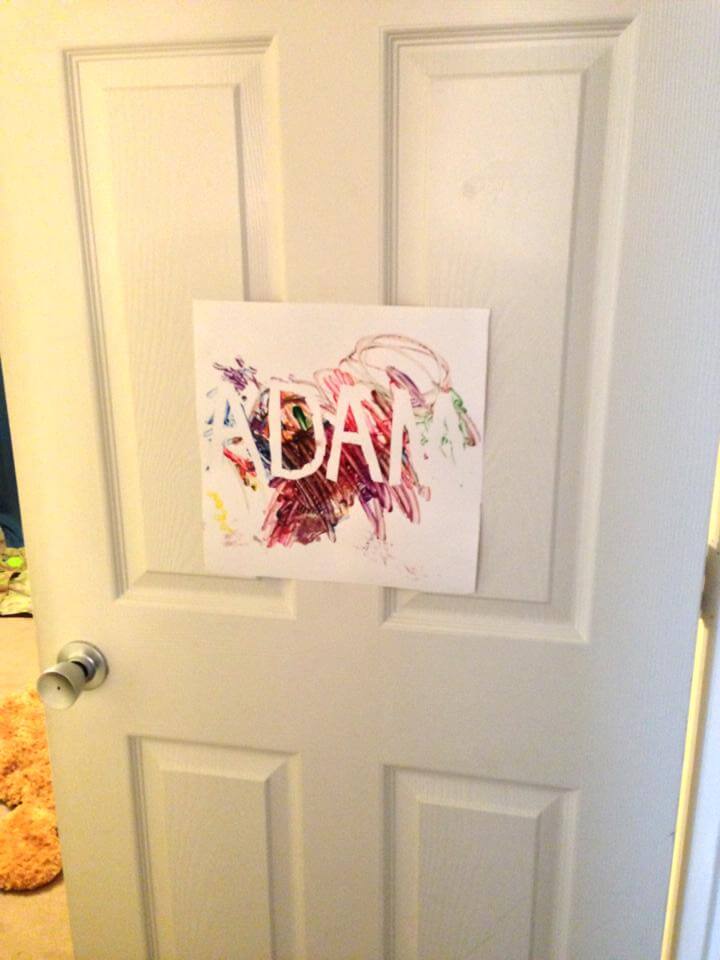
5. When your child is done painting, put the piece somewhere safe until dry. Once dry, slowly peel off the tape. You should have a beautiful art work of your child’s name.
We hung my son’s painting on his door and he loved it! But you can also frame it and give it away as gifts to grandparents and other family members or save it as a keepsake for yourself!


This is great! We need to give this idea a try.
Try it! It was definitely a lot of fun. 🙂